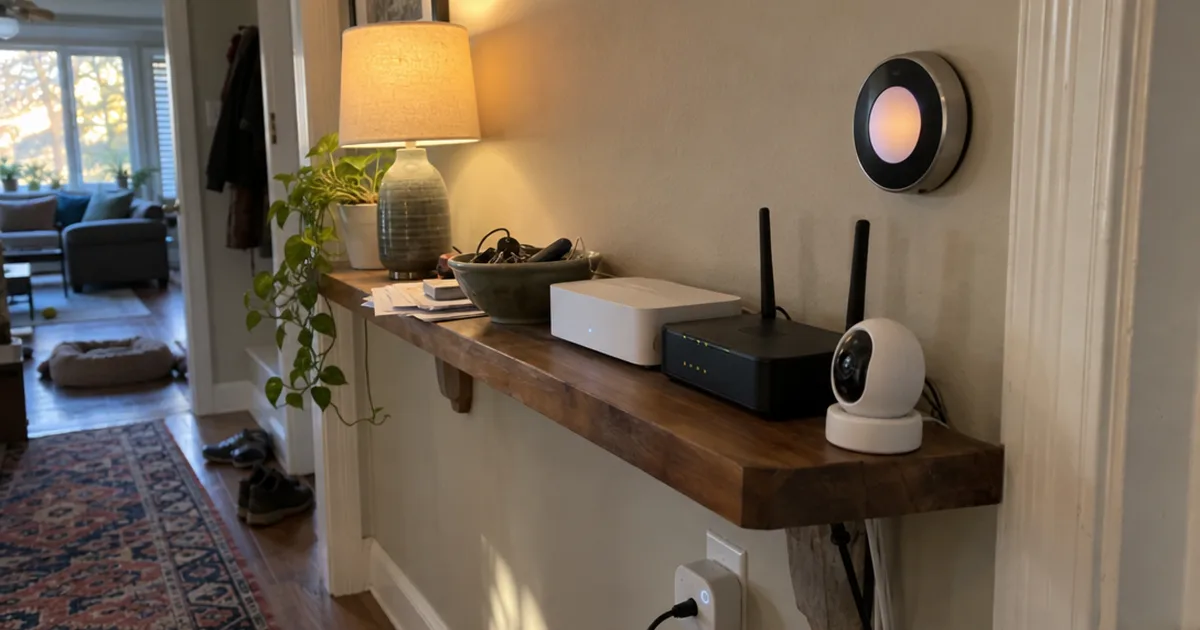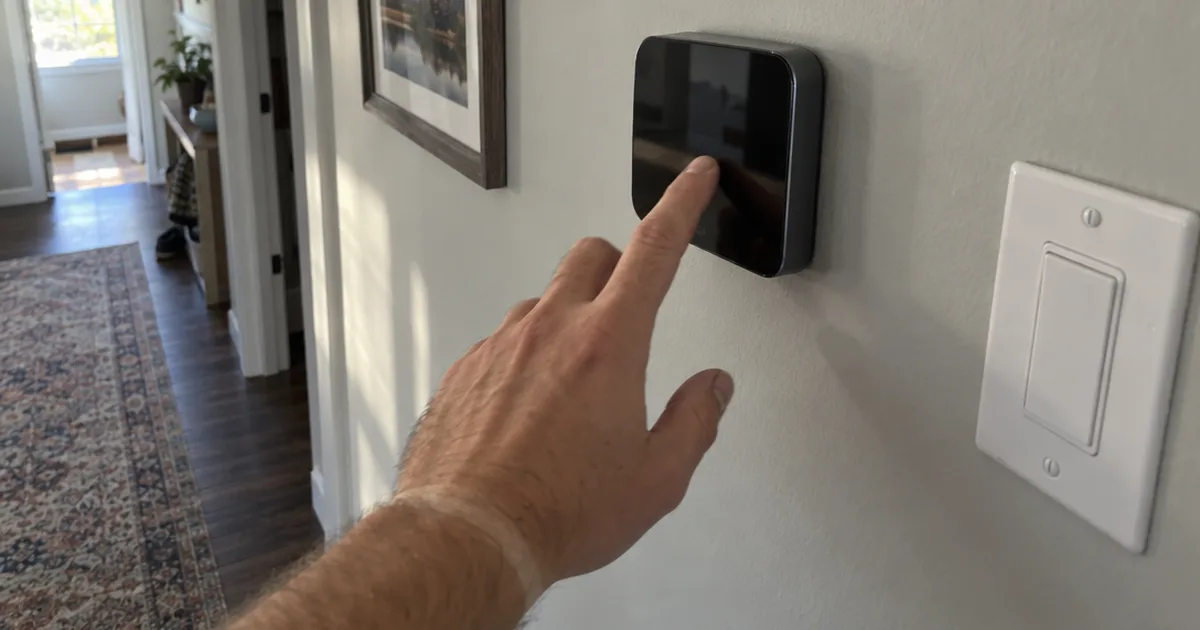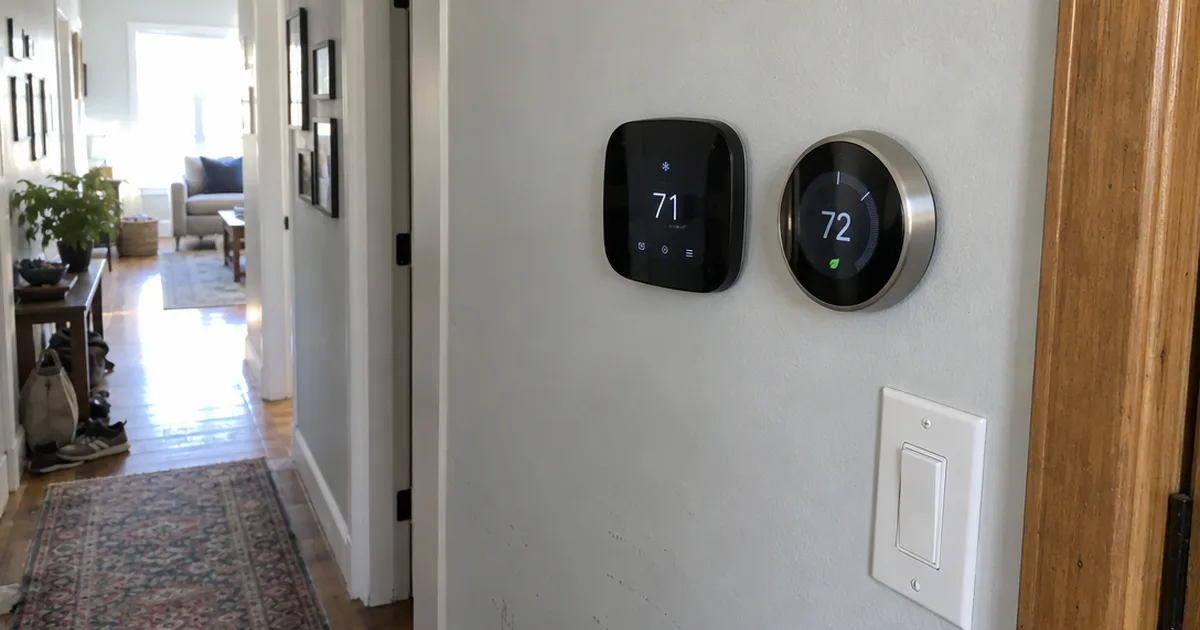
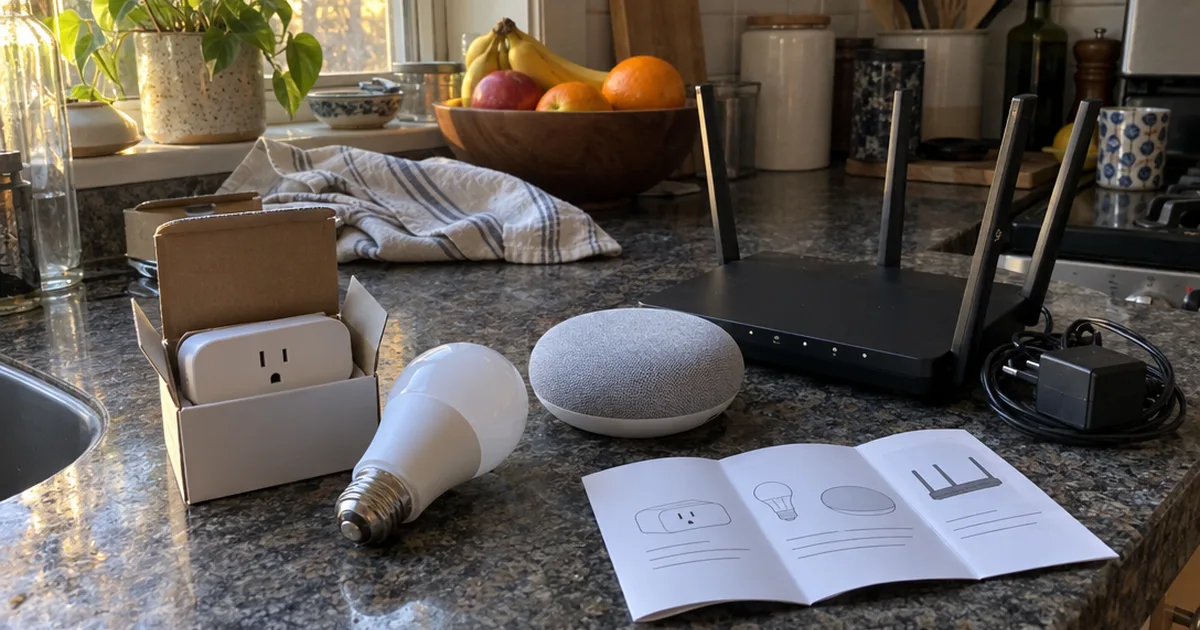
One smart home app now works with over a thousand different devices and services.
That’s Home Assistant’s own count. And it’s the real reason people stall when they look up how to set up a smart home: too many choices, in no clear order.
So you’ll get 10 steps in the order that keeps you from buying twice, plus the Wi-Fi, hub and security calls most beginners miss.
Best for: anyone starting from zero with a smartphone and home Wi-Fi. Skip it if you’re planning wiring for a house that’s still being built.
Cost: Free to plan. Your first smart plug or bulb is your first real cost.
Time: Same day for your first working device.
First step: Write down the 3 chores or worries you most want your home to handle.
How to Set Up a Smart Home Step by Step
Setting up a smart home takes 10 steps: set goals, pick an ecosystem, prep your Wi-Fi, decide on a hub, start with plugs and bulbs, pair devices, add security, build routines, secure accounts and expand.
Do them in order. Skipping ahead is how people end up with a phone full of apps that don’t talk to each other.
Step 1: Decide What You Want Your Smart Home to Do
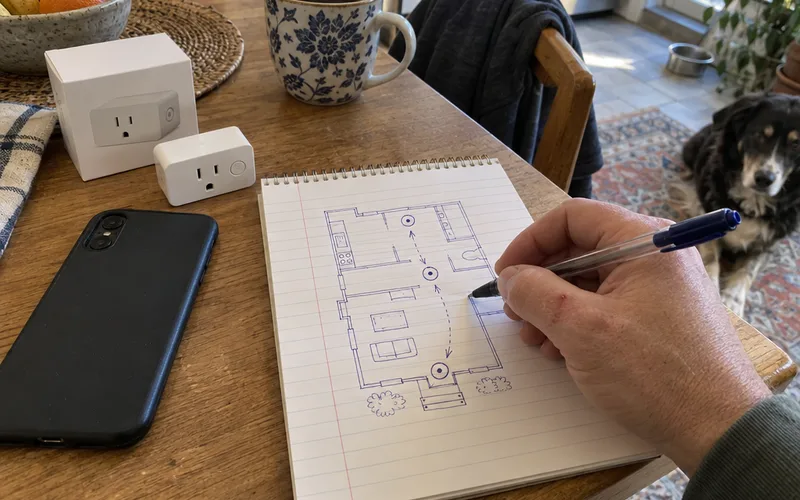
A smart home should start with problems, not products. Before you buy anything, list the 3 things you’d most like your home to handle for you.
Think small and specific. “Porch light on at sunset,” “tell me if the garage is open” and “light the hallway at night” are all good starting goals.
Why does this matter?
Because each goal points to a device type. The porch light needs a smart bulb or switch, the garage needs a sensor or a smart opener and the hallway needs a motion sensor.
If terms like hub and ecosystem are still fuzzy, read how a smart home works first. And to plan every room on paper, the process for designing a smart home goes deeper than this step.
Key Takeaway: Your 3 goals become your first shopping list, and nothing else goes in the cart yet.
Step 2: Pick One Smart Home Ecosystem
A smart home ecosystem is the main app and voice assistant that runs everything, and the best pick usually matches your phone. The main choices are Amazon Alexa, Google Home, Apple Home and Home Assistant.
You can mix brands later. But one main ecosystem keeps your devices in one app, your routines in one place and your voice commands consistent.
Here’s how the 4 main options compare:
| Ecosystem | Best for | Main catch |
|---|---|---|
| Amazon Alexa | The widest device choice | Many brands link through Alexa skills |
| Google Home | Android households | Fewer compatible devices than Alexa |
| Apple Home | iPhone households | Needs a HomePod, Apple TV or iPad as a home hub |
| Home Assistant | Local control and privacy | Takes time to learn and configure |
So if everyone in your home uses an iPhone, Apple Home is the natural pick. If you’re on Android, start with Google Home, and if your household mixes phones, Alexa works on both.
Home Assistant is the outlier. Its site says it keeps your data local, no need for a cloud, which appeals if privacy matters more to you than a quick setup.
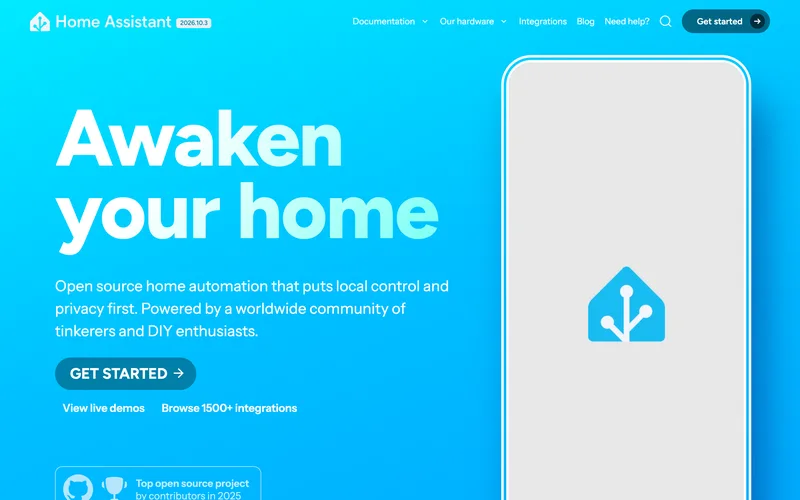
Before you commit, see what an Alexa smart home can run, which devices work with Google and what a Home Assistant setup involves. Samsung SmartThings is another option, but it leans on Alexa or Google for voice.
Step 3: Get Your Wi-Fi Ready
A smart home Wi-Fi network needs a 2.4 GHz band turned on, because many smart plugs, bulbs and cameras connect only on 2.4 GHz. That band reaches farther through walls than 5 GHz, which is why device makers like it.
Check your router’s settings app for a 2.4 GHz network. Some routers merge both bands under one name, which is fine for most devices but can confuse the pickiest ones during setup.
Next, look at coverage. Put your router in a central, open spot, and add a mesh Wi-Fi system if your phone’s signal drops in some rooms.
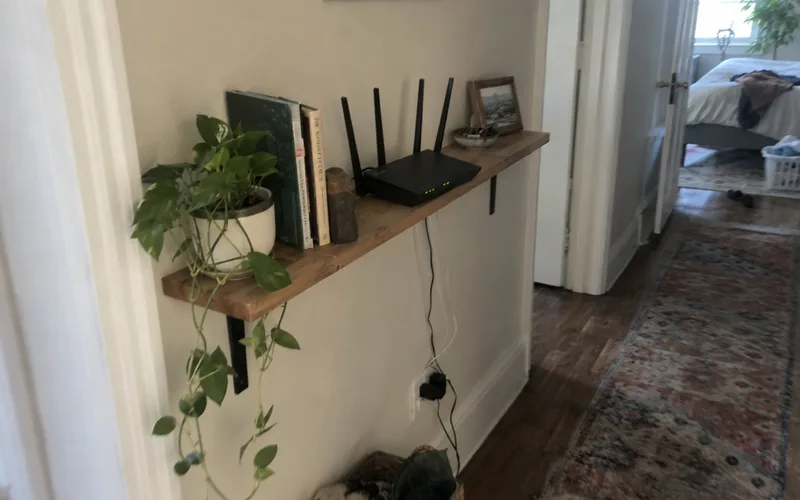
Some routers also offer quality of service settings. Fortinet’s glossary says quality of service (QoS) controls network traffic so critical apps keep working when capacity is limited.
What does that mean for you? If video calls stutter while cameras upload clips, QoS lets you tell the router which traffic goes first.
Fix dead spots now, because every device you add later will depend on this network.
Step 4: Decide Whether You Need a Smart Home Hub
A smart home hub is only necessary when your devices use Zigbee or Z-Wave, while Thread devices need a Thread border router instead. If you’re starting with Wi-Fi plugs, bulbs and cameras, you can skip the hub for now.
Here’s why hubs exist. Zigbee, Z-Wave and Thread are low-power wireless networks for small devices like sensors and locks.
Those networks keep small devices off your Wi-Fi, so their batteries last longer.
You may already own one, too. Many smart speakers, smart displays and routers now have Thread or Zigbee radios built in, so check their specs before you buy a separate box.
Then there’s Matter. Matter is a standard that lets certified devices from different makers work with Alexa, Google Home, Apple Home and Home Assistant.
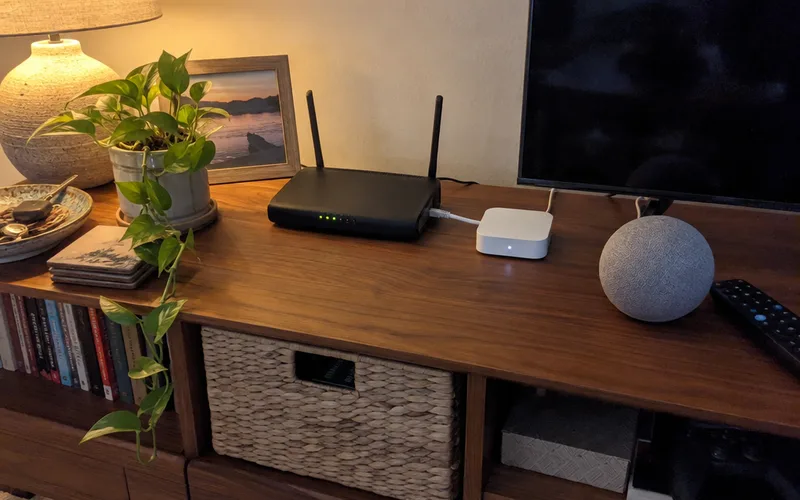
So the decision is simple:
- Wi-Fi devices only: no hub needed.
- Thread or Matter-over-Thread devices: a Thread border router, often built into a speaker or display.
- Zigbee or Z-Wave devices: a hub with that radio.
If you want the details on each network, the smart home protocols breakdown compares them side by side.
Step 5: Start With Smart Plugs and Smart Bulbs
Smart plugs and smart bulbs are the best first smart home devices because they need no wiring and are easy to undo. Start with 1 or 2 and use them to learn your app.
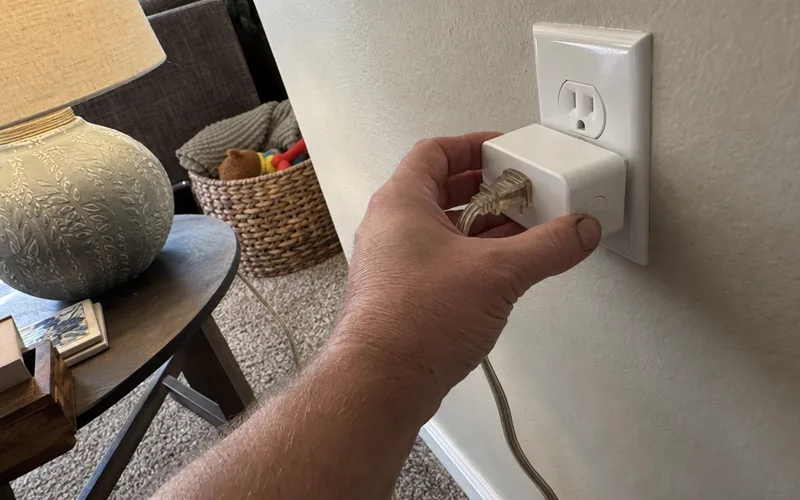
A smart plug sits between an outlet and whatever you plug into it. That turns an ordinary lamp, fan or coffee maker into something you can switch from your phone or put on a schedule.
Check the plug’s rated load on the box before you use it with anything that heats or has a motor. If it’s a heater or a large appliance, read the plug maker’s instructions first.
Smart bulbs work differently. They need power all the time, so the wall switch has to stay on, which surprises guests who flip it off out of habit.
That’s where smart switches come in later. They replace the wall switch and involve line voltage, so if you’re unsure, turn off the breaker and call an electrician.
To choose your first one, compare the smart plugs worth buying by app support and load rating.
Step 6: Add Each Device in Its App
Adding a smart device means pairing it in the maker’s app, joining it to your 2.4 GHz Wi-Fi and then linking it to your main ecosystem. Most devices ask you to scan a QR code or enter a setup code along the way.
Here’s the order that works for most devices:
- Install the device maker’s app and create an account.
- Plug in or power the device so it enters pairing mode, usually shown by a blinking light.
- Scan the QR code or type the setup code from the device or its manual.
- Connect it to your 2.4 GHz network, with your phone on that same network.
- Link it to Alexa, Google Home or Apple Home, by enabling a skill or adding the device from the ecosystem’s app.
- Give it a clear name and assign it to a room.
Do all of this before you mount anything. Setup codes often sit on the back of the device, so photograph each code and keep the manual.
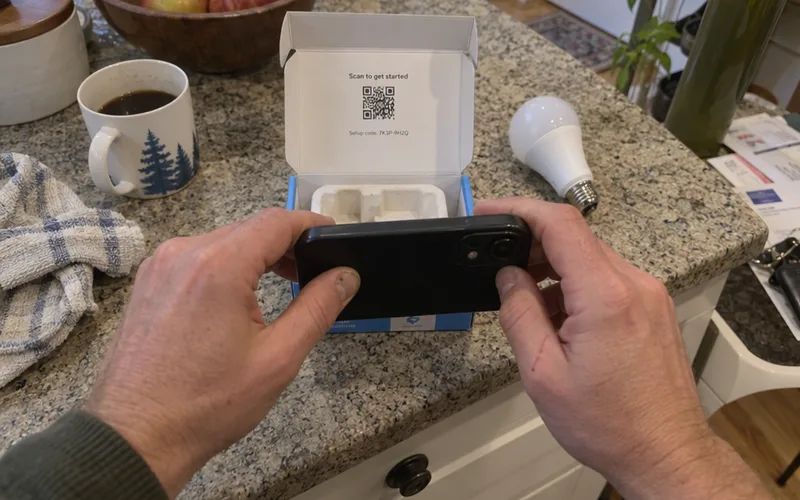
Names matter more than you’d think. Voice commands need exact matches, so use the room plus the device, like “kitchen light,” and never reuse a name.
If you chose Home Assistant, part of this happens for you. The platform says it will automatically scan your network for known devices once it’s started, then lets you set each one up.
Step 7: Add Security Devices and Sensors
Security devices and sensors come after your first plugs and bulbs because they’re harder to move once mounted. The usual first picks are a smart lock, a video doorbell, a security camera and contact or motion sensors.
Test every device in its final spot before you drill. Hold a camera where it will go and check the live view, because a weak signal there means missed clips later.
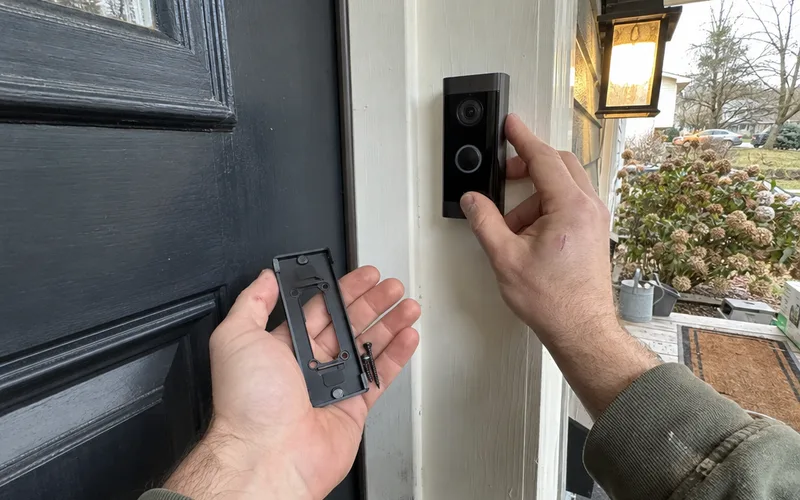
Sensors are where automation starts to feel smart. A contact sensor on a door can turn on a light or send an alert, and a motion sensor can light a hallway at night.
Note: Smart smoke, CO and leak sensors add to the alarms your building code requires. They don’t replace those alarms or professional monitoring.
Wired doorbells and some locks connect to your home’s wiring. Turn off power at the breaker before you touch any doorbell or line-voltage wiring, and call a pro if the wiring doesn’t match the manual.
The smart home security section covers locks, doorbells and cameras one by one. For sensors, start with the smart home sensors worth buying first.
Step 8: Build Routines and Automations
Smart home routines and automations let devices act on their own, based on a time, a sensor or your location. Start with one schedule, then add one trigger-based routine once the first works.
First, group your devices into rooms in your ecosystem’s app. Then “turn off the living room” controls every light in that room, and your routines get much simpler to build.
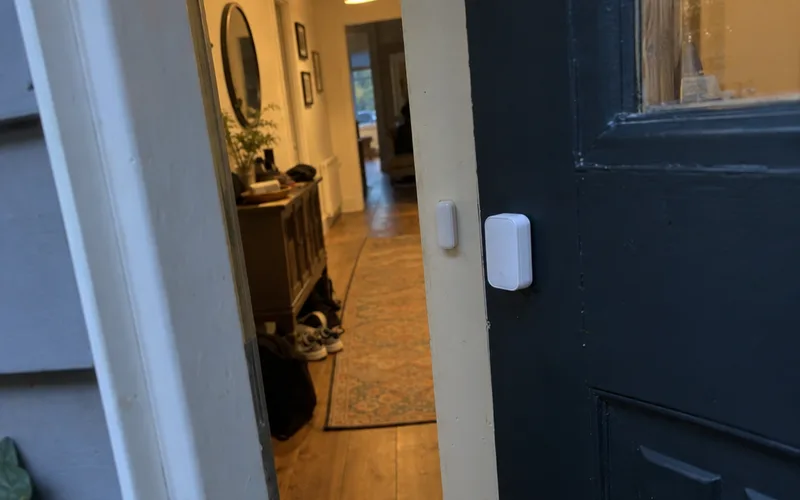
Here’s an example of how a good first routine works:
Say you want the hallway light on when the front door opens after sunset. The trigger is the door sensor, the condition is “after sunset” and the action is the light turning on.
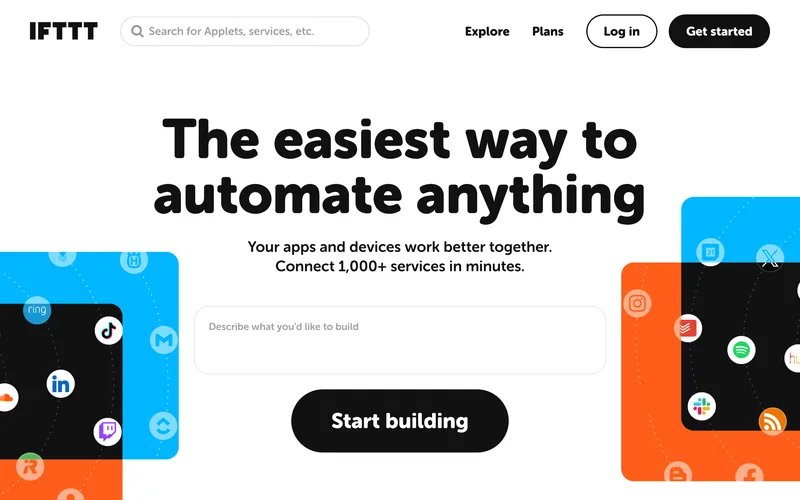
What if your devices live in different apps? A service called IFTTT bridges that gap.
IFTTT’s site says it links 2 or more apps with automations called Applets: you choose a trigger, pick an action and customize it.
That reach is big, since IFTTT says it can connect 1,000+ services. So if Alexa can’t see a device but IFTTT can, you can still automate it.
When you’re ready for more, these smart home routine ideas are a good next step. Add one routine at a time, and live with it for a few days before you add the next.
Step 9: Lock Down Your Accounts and Network
Securing a smart home means protecting both your accounts and your Wi-Fi, because anyone who gets into either can control your devices. Start with unique passwords and two-factor authentication on every smart home account.
Two-factor authentication asks for a second code when someone signs in. It’s often off by default, so turn it on in each app’s account settings.
Then work through this short list:
- Give your Wi-Fi a long, unique password.
- Put smart devices on a separate network if your router offers an IoT or guest option.
- Turn on automatic firmware updates for devices and your router.
- Read each app’s privacy settings, and turn off voice recording storage if you don’t want it kept.
Cameras and microphones deserve extra thought. Skip devices with a camera you don’t need, and use the mute button on speakers in bedrooms.
For router settings and data risks, see how to build a smart home network that keeps devices apart from your laptops.
Step 10: Expand Room by Room
Expanding a smart home works best one room and one device at a time, so each new device gets tested before the next arrives. Go back to your 3 goals, finish them, then pick the next room and the devices that fit it.
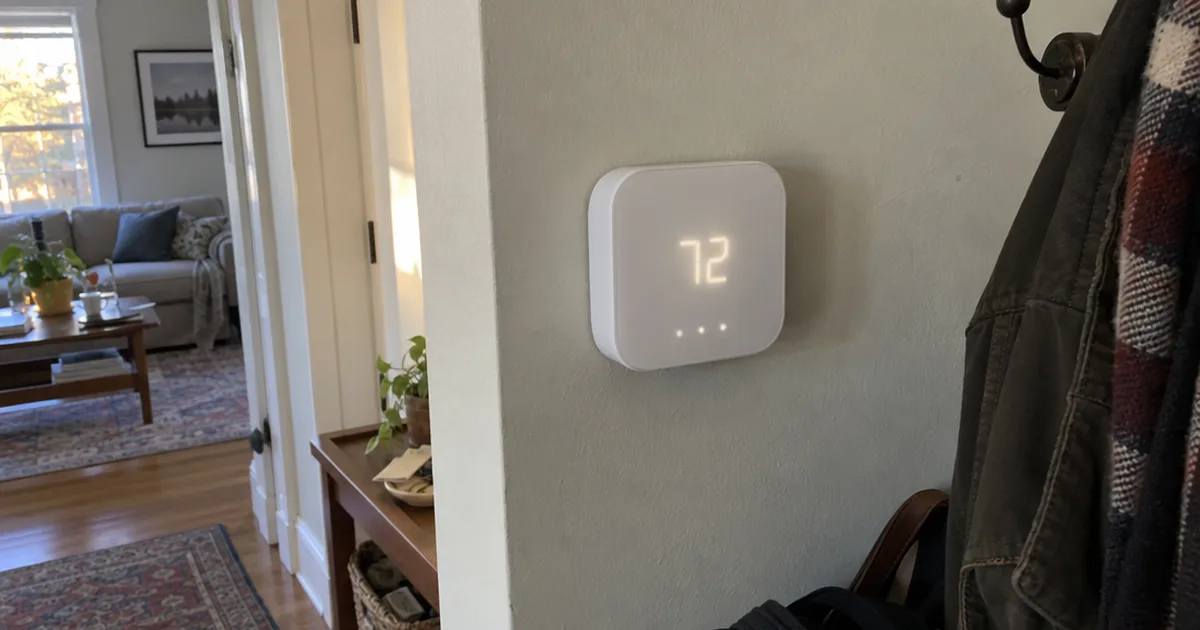
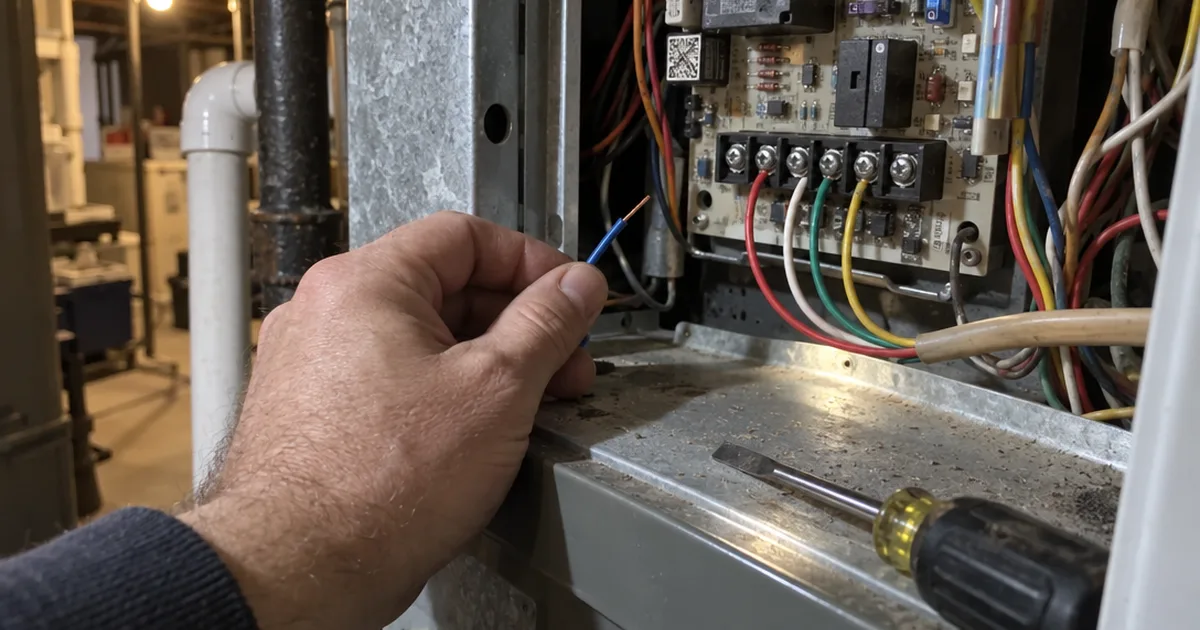
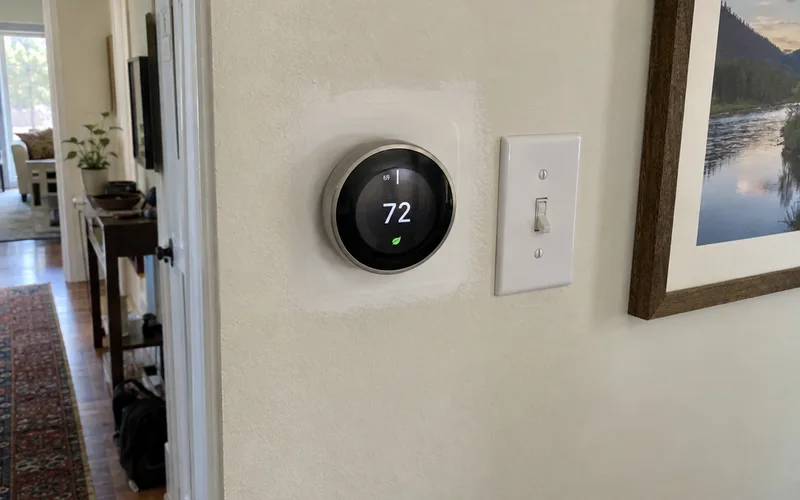
The next devices usually involve more work. A smart thermostat connects to your heating and cooling system, so read through smart thermostat installation before you buy one.
Outdoor projects follow the same pattern. A smart sprinkler controller install swaps out your old timer and connects to Wi-Fi like any other device.
Building or gutting a house? Plan wiring for new construction before the walls close, since running cable later costs far more effort.
To make sure nothing slips through, run through this smart home checklist as you add each room. It’s the same order you just followed, room by room.
What You Need to Set Up a Smart Home
To set up a smart home, you need a smartphone, a Wi-Fi router with a 2.4 GHz band, one ecosystem app and one smart device. A hub is only needed for Zigbee, Z-Wave or Thread devices.
A smart speaker or display is optional. It adds voice control and lets guests run things without your phone.
Here’s what each piece does:
- Smartphone: runs the apps you use to pair and control devices.
- Wi-Fi router: connects most devices to each other and to the internet.
- Ecosystem app: the one place where all your devices come together.
- Starter device: a smart plug or bulb, so you can learn the app on something simple.
In other words, if you have a phone and Wi-Fi, you can set up your first device today.
Can You Mix Smart Home Brands?
You can mix smart home brands as long as each device supports your main ecosystem or the Matter standard. Look for “Works with Alexa,” “Works with Google Home,” “Works with Apple Home” or the Matter logo on the box before you buy.
Those logos promise basic control, not every feature. One robot vacuum might only start and stop by voice, while another can clean a single room, so read the product’s list of supported commands.
You’ll still use each brand’s app for setup and firmware updates. After that, you control the device from your main ecosystem.
That’s why the ecosystem choice in step 2 matters so much. Pick it first, then filter every purchase by it.
How Much Does It Cost to Set Up a Smart Home?
The cost to set up a smart home depends on how many devices you buy, whether you need a hub and whether a job needs an electrician or HVAC technician. You can start with one smart plug.
The biggest cost jumps come from installed devices. Plugs, bulbs and battery sensors cost only the device, while thermostats, smart switches and wired doorbells may add labor.
To get your own number, price the devices on your 3-goal list at one retailer and add a hub only if step 4 says you need one. For anything wired, get an install quote, and see how smart thermostat installation cost breaks down between the device and the labor.
Should You Set Up a Smart Home Yourself or Hire a Pro?
Most people can set up a smart home themselves, because plugs, bulbs, sensors and battery cameras only need an app. Hire a professional for anything that touches line voltage, HVAC equipment or whole-home wiring.
Here’s how the 2 approaches compare:
| Factor | DIY setup | Professional setup |
|---|---|---|
| Cost | Devices only | Devices plus labor |
| Best for | Plugs, bulbs, sensors, battery cameras | Switches, thermostats, wired doorbells, wiring |
| Brand choice | You pick every device | May follow the installer’s system |
| Timing | Your own pace | A scheduled visit |
So a split approach works for most homes. Do the plug-in devices yourself, and book a pro only for the wired jobs.
Hiring a pro? Ask whether you’ll own the accounts and can add your own devices later.
Common Smart Home Setup Mistakes
The most common smart home setup mistakes are separate accounts for each family member, too many automations at once, locks with no backup and devices that no longer get updates. Each one is easy to avoid.
Here’s what to watch for:
- Separate accounts: invite household members into your home in the ecosystem app, instead of letting each person set up devices on their own account.
- Automating everything at once: when 5 new routines fire on the same day, you can’t tell which one is misbehaving.
- No backup for locks: pick a smart lock with a keypad or physical key, so a dead battery or outage never locks you out.
- Ignoring support life: check that a brand still releases updates for a device before you buy it used or on clearance.
Pro Tip: Keep a simple note with each device’s name, room, app and purchase date. It saves you time when something stops responding.
What to Do When a Smart Device Won’t Connect
When a smart device won’t connect, check that your phone is on the same 2.4 GHz network, then restart the device and try setup again. Most failed setups clear up with one of those 2 fixes.
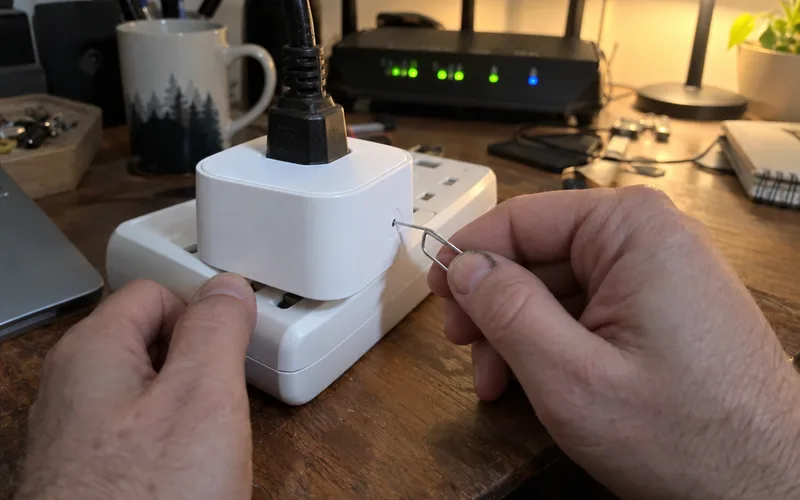
If it still won’t pair, work through these in order:
- Move the device closer to the router for setup, then move it back.
- Quit and reopen the app, and start setup from the beginning.
- Restart your router and check it for a firmware update.
- Search the exact model number and the error in the maker’s support forum.
- Factory reset the device, delete it from the app and set it up fresh.
That last step erases the device’s settings. So save it for when nothing else works.
What Happens to Your Smart Home When You Change Routers?
When you change routers, your Wi-Fi smart devices disconnect unless the new router uses the exact same network name and password as the old one. Copy both exactly, including capital letters, and most devices reconnect on their own.
Devices on a Zigbee or Z-Wave hub behave differently. They stay paired to the hub, so you only reconnect the hub to the new network.
Moving out is the reverse problem. Remove every device from your accounts and factory reset anything you’re leaving behind, so you can’t control the next owner’s home by accident.
What Are the Disadvantages of a Smart Home?
The main disadvantages of a smart home are reliance on company servers, privacy risks from cameras and microphones, extra Wi-Fi load and the time it takes to manage several apps. Good planning shrinks each one.
Cloud dependence is the big one. When a company’s servers go down or a brand ends support, cloud-only devices can lose features, which is why some owners pick local platforms like Home Assistant.
Privacy comes next. Every camera and microphone you add is something you have to secure, which is why step 9 matters as much as step 1.
And complexity creeps in fast. The fix is the same one this whole guide is built on: one ecosystem, one device at a time, tested before you add the next.
Want the bigger picture? The full home automation section covers every stage, from your first device to whole-home systems.
Frequently Asked Questions
What are 10 key features of a smart home?
The 10 key features of a smart home are app control, voice control, remote access, schedules, automations, scenes, motion and door sensors, security alerts, energy monitoring and location triggers. Most beginners use app control, schedules and voice first, then add the rest one device at a time.
How do I make my home a smart home without rewiring?
You make a home smart without rewiring by starting with plug-in and battery devices: smart plugs, smart bulbs, battery sensors and battery cameras. Save smart switches, thermostats and wired doorbells for later, since they connect to your home’s wiring.
Is Home Assistant good for beginners?
Home Assistant suits beginners who want local control and don’t mind a learning curve, but it takes more time to set up than Alexa, Google Home or Apple Home. Start with one of those big 3 if you want the quickest path to a working home.
Do smart home devices need 5 GHz Wi-Fi?
Most smart home devices don’t need 5 GHz Wi-Fi, because many connect only on the 2.4 GHz band, which reaches farther through walls. Keep a 2.4 GHz network turned on, and connect your phone to it while you pair a new device.
Can a smart home work without the internet?
A smart home can keep working without the internet only when its devices and hub run locally, as Home Assistant is designed to. Cloud-based devices usually lose app control, voice control and remote access during an outage, so give locks a keypad or key backup.
What is the best first smart home device?
A smart plug is the best first smart home device for most people, because it needs no wiring, works with every major ecosystem and turns any lamp or fan into something you can schedule. Set it up first to learn your app before you buy anything bigger.
Final Thoughts
A smart home works best when you build it in order: one ecosystem, solid Wi-Fi, then one device at a time.
This week, pick the ecosystem that matches your phone and set up one smart plug on a lamp you use every day. Get a schedule running on it, and you’ll know exactly what to add next.