A dead Nest thermostat can wake itself up within 1 hour.
A very low battery can take several minutes or up to an hour to charge, a Google help page says.
So hold off on buying a new one.
This Nest thermostat troubleshooting guide gives you 8 steps in the order to try them, plus what each light and error code means.
- Best for: a blank screen, a code, lost Wi-Fi or no heat or AC. Skip it if you use a Heat Link in Europe, which has its own steps.
- Cost: Free for most steps.
- Time: Same day.
- First step: Walk up to the thermostat and write down any light or code.
How to Troubleshoot a Nest Thermostat Step by Step
Nest thermostat troubleshooting starts with power, because a thermostat that can’t charge its battery turns off features like Wi-Fi and then goes dark. Work through these 8 steps in order and stop when the problem clears.
Step 1: Wake the Screen and Write Down What It Shows
A blank screen isn’t always a fault.
The screen may turn off during regular use when it senses no motion, then turns back on when someone walks by or uses the app.
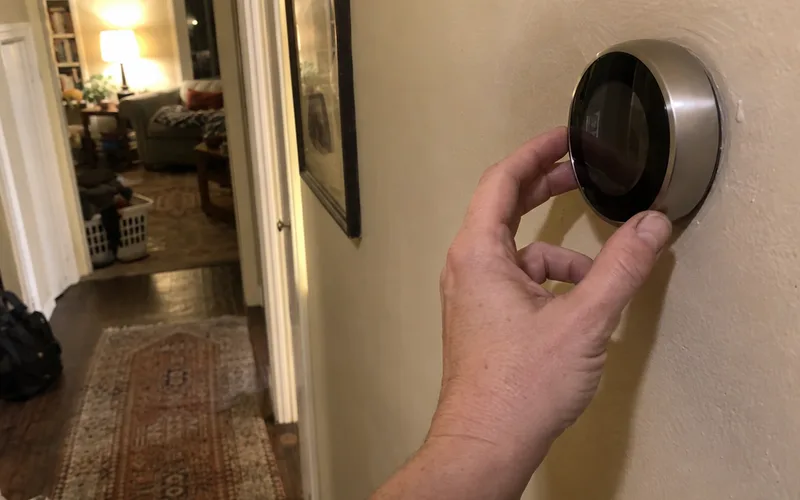
If it stays dark, look for a light. If it shows a code, write it down, because that code decides your next move.
Note your model too, since the steps change between the Nest Thermostat, Nest Thermostat E and Nest Learning Thermostat.
Step 2: Restart the Thermostat
A restart keeps all your settings, so it’s the safest fix to try early.
Here’s the menu path:
- Nest Thermostat or Nest Learning Thermostat (4th gen): Settings, then Restart.
- Nest Thermostat E or Nest Learning Thermostat (3rd gen or earlier): Settings, then Reset, then Restart.
Screen frozen? Use a manual restart, which is only for when the menu won’t work.
On a Nest Thermostat E or Nest Learning Thermostat, press the thermostat down for about 10 seconds until the screen turns off, then press and release the ring.
On a Nest Thermostat, pull it off the base, take out both AAA batteries, put them back and press it on until it clicks. The restart steps by model go deeper if yours is stuck.
Step 3: Check the Power to Your System
Your thermostat draws its power supply from your heating and cooling system, so check the HVAC system next.
Find the breaker or switch for your system. A Google help page says to turn it off, then back on, pushing it all the way to On.
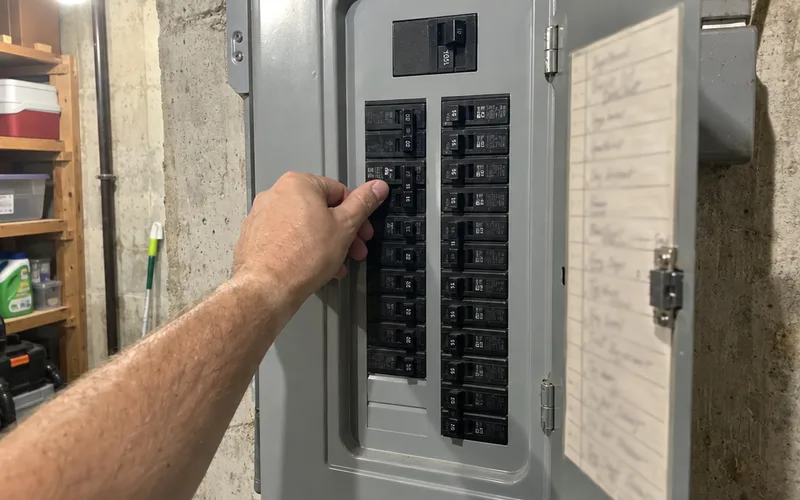
If you have a fuse box, check the fuse for your system and replace it if it’s blown. Then make sure the cover on your HVAC equipment is closed, since a safety switch often stops it from running with the cover off.
On a Nest Learning Thermostat (4th gen), pull off the display and look at the level on the baseplate. If it doesn’t light up, your thermostat isn’t receiving power.
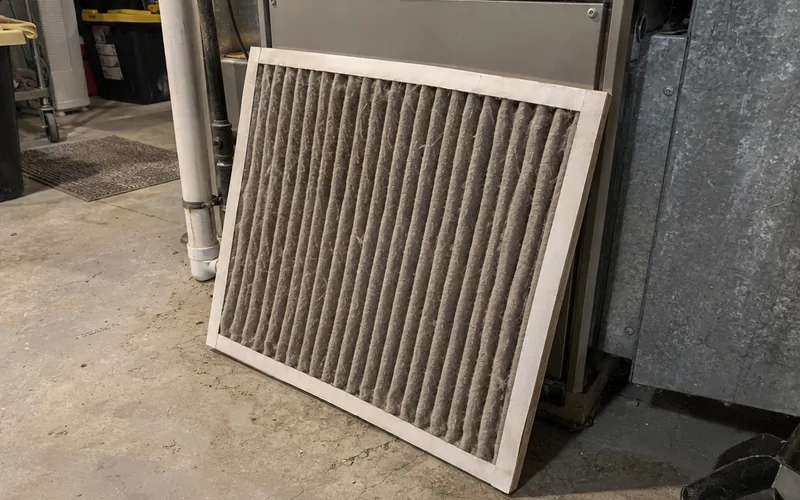
A clogged air filter can cut power too, because your system overheats, shuts off and stops charging your thermostat.
Step 4: Charge the Battery
The Nest Thermostat runs on 2 AAA batteries, so swap them first. Other models charge from your system, so pull off the display and plug it into a USB cable and wall charger.
On the 4th gen, use the USB-C port on the back. A Google help page warns not to use a computer port or other unpowered USB port.
Treat that charge as a stopgap, because your thermostat will lose power again until you fix the cause.
Step 5: Check the Wires at the Base
Turn off power to your system at the breaker or fuse box before you touch a wire.
Pull off the display, then pull out one wire at a time. A Google help page says the exposed part should be clean, straight and 3/8 inch long, so cut and re-strip crooked or corroded ends.
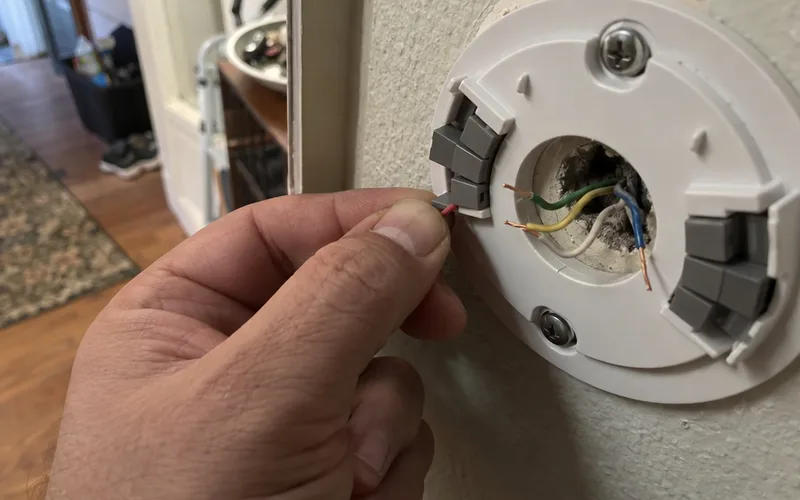
Push each wire back in until the connector button stays down. If it pops up, the wire isn’t fully inserted.
On a Nest Thermostat or 4th gen, you can also check this on screen under Wiring Info. A grey wire isn’t sending voltage, and if every wire is grey, your system may be off.
Step 6: Fix Low Power With a C Wire
A C wire only provides constant power to your thermostat. It doesn’t control heating or cooling at all.
Many homes run fine without one. But a Google help page says heating-only, cooling-only, zone-controlled and heat pump systems need a C wire or a power accessory.
A Nest Thermostat E or Nest Learning Thermostat also needs one if its battery often drains.
So look for a spare wire behind the thermostat and connect it to the C connector.
No spare? Install a Nest Power Connector, which you can request free if a power test shows a “Low power” error.
A new C wire generally needs a pro.
Step 7: Get It Back on Wi-Fi
Finish the power steps first, because a Google help page says a thermostat with a low battery will not connect to Wi-Fi.
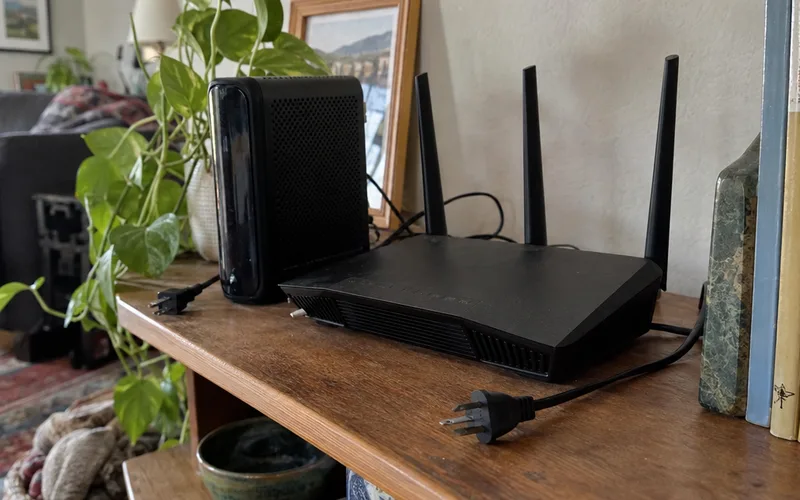
Then work through this list:
- Check that another device can get online at home.
- Unplug your modem and router, wait 30 seconds and plug them back in.
- Restart your thermostat.
- Check its network screen. If ping is more than 1000 or signal strength is less than 50, turn off devices that use 2.4 GHz, like cordless phones and baby monitors.
While it’s offline, you can still set the temperature on the thermostat itself. If only the Google Home app shows it as offline, these app connection fixes are the next stop.
Step 8: Run the System Test
On your thermostat, go to Settings, then Equipment, then Test. A Google help page says it runs for 35 minutes before it stops on its own.
Many systems have a built-in delay of 5 minutes or more, so give it time. A code that starts with T names the part that had the issue.
What a Blinking Light Means on a Nest Thermostat
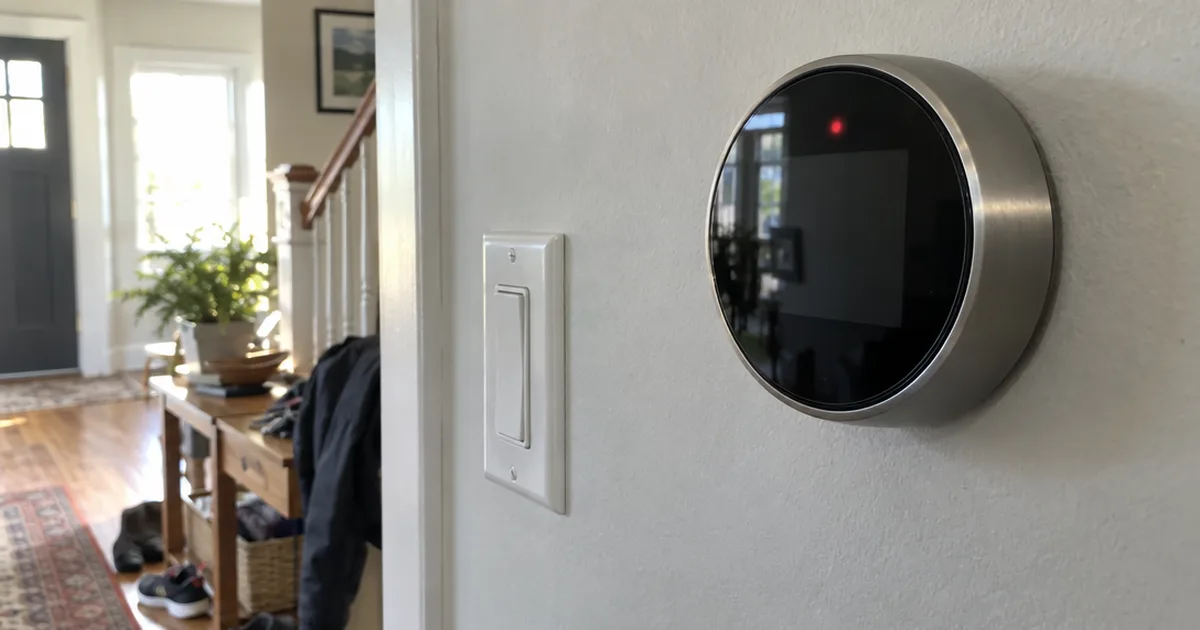
A blinking red light on a Nest thermostat means the battery is very low but charging, and a blinking green light means it’s updating, starting up or restarting, according to a Google help page on power.
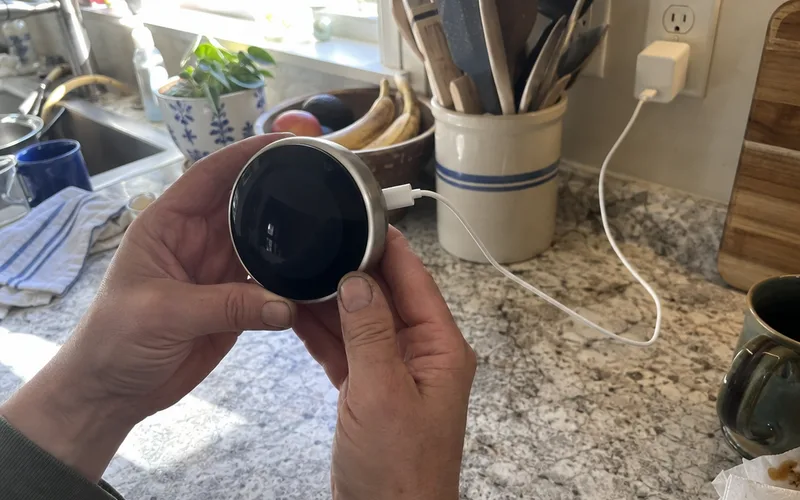
Here’s how to read each one:
- Blinking red: Wait up to an hour for it to charge.
- Blinking green: Wait, since it typically lasts a minute or 2.
- Dark yellow (Nest Learning Thermostat 4th gen): The same low battery message as red.
- No light: The battery has drained because too little power is reaching your system’s wires.
If red or yellow keeps coming back, stop waiting. That points to a wiring or power issue, so go to Step 5.
What Nest Thermostat Error Codes Mean
Nest thermostat error codes, which Google calls help codes, name the problem by letter and number. E codes are critical, so your thermostat blocks heating and cooling control until you fix the cause.
These are the ones you’re most likely to see:
- E448 and E298: No system power.
- E3, E23 and E73: No power to the Rc wire.
- E4, E24 and E74: No power to the Rh wire.
- N260 and N410: A C wire or Nest Power Connector is recommended.
- TD codes: Trouble connecting to Wi-Fi or your app.
For any “no power” code, start at Step 3.
Why Your Nest Thermostat Isn’t Heating or Cooling
A Nest thermostat that turns orange for heat or blue for cooling is trying to turn your system on, so if nothing runs, a Google help page says your system might need maintenance. If the screen doesn’t change color, check the thermostat first.
Confirm the mode, then set the target a few degrees past room temperature. The energy history in your app shows why your thermostat is acting strangely.
Still stuck? Try your old thermostat, which splits the problem in 2:
- Your system runs fine: Your Nest thermostat might have a wire or power problem.
- The same problem shows up: Your system might need maintenance, so contact a pro.
For symptom-specific checks, see the no heat fixes or no cooling fixes.
Why Your Nest Thermostat Says Delayed
A Nest thermostat that often says “Delayed” or “Starts in” may not be getting consistent power, and a Google help page lists that message as a low-power symptom. One example is “Heating is delayed for 2:30 mins”.
A single short wait can be normal, so let one countdown finish.
If the delay keeps coming back, go to Step 6, because your system may not be keeping the battery charged.
When to Call an HVAC Technician About a Nest Thermostat
Call an HVAC technician when a Nest thermostat problem involves a blown fuse on your system’s control board, a new C wire, or the same code after a System Test. Google help pages send all 3 of those to a pro.
Also call if the problem comes back after you restart your system’s power. Google says that’s a sign your system might need maintenance.
Before you replace anything, confirm your system is compatible. Connecting a Nest thermostat to a millivolt, high voltage, solid fuel or proprietary system can damage it.
A factory reset erases your personal settings, and your thermostat has to learn you again before its energy-saving features return, so save it for last.
Frequently Asked Questions
Why is my Nest thermostat not turning on?
A Nest thermostat usually won’t turn on because of a power issue or a freeze during a software update. Check for a light first, then restart it, check the breaker and charge the display.
How do I factory reset a Nest thermostat?
A Nest thermostat factory reset is in Settings: choose Factory Reset on a Nest Thermostat or 4th gen, or Reset, then All Settings on older models. Write down the wire setup first, because you’ll need to set it up in the app again.
What does the E448 error code mean on a Nest thermostat?
E448 on a Nest thermostat means no system power, so your HVAC system isn’t sending power to the thermostat. Check the breaker, then the wires, since an E code won’t go away until the cause is fixed.
What does No Power to Rc Wire Detected mean?
No Power to Rc Wire Detected means your Nest thermostat sees no power on the Rc wire, and it shows as E3, E23 or E73. Check system power first, then check that the wire is fully seated.
Why isn't my Nest thermostat showing the outside temperature?
A Nest thermostat shows the outside temperature only with a Wi-Fi connection and a correct home location, and only on the 3rd gen Nest Learning Thermostat with Farsight. Check that it’s online, then confirm your address in the app.
Final Thoughts
Start with power, because a Nest thermostat that can’t charge its battery fails in a lot of different ways.
Restart it and check the breaker today, then work down the 8 steps.